My rental kitchen had the saddest light fixture I'd ever seen. A single flush-mount dome, circa 1994, that cast a greenish-yellow light over everything. My cooking photos looked like I was making food in a submarine.
I wanted a pendant. My lease said no hardwiring. So I found a third option.
The Plug-In Pendant Setup
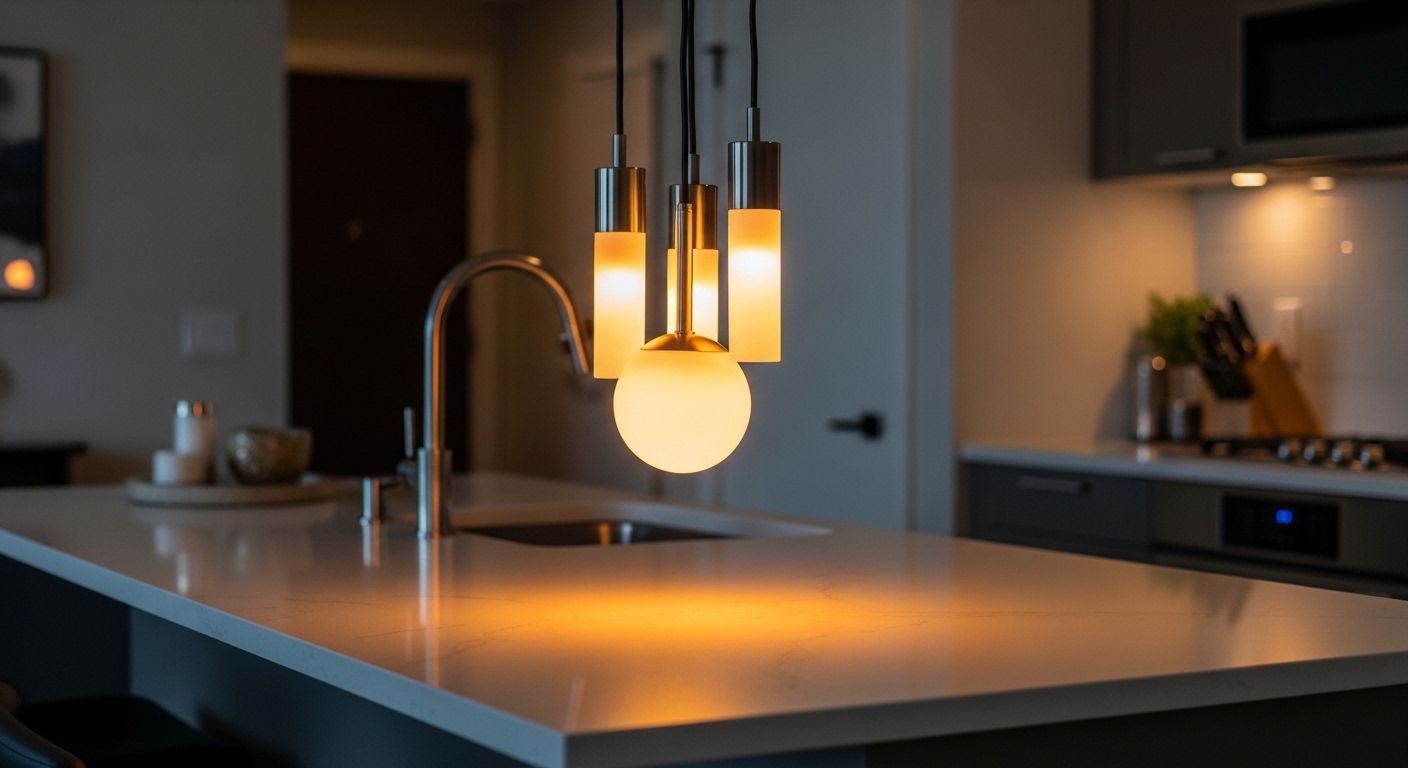
Plug-in pendant lights use a canopy that mounts over your existing ceiling medallion, no electrical work, just the existing screw holes that are already there. The cord runs from the pendant, along the ceiling, and then down the wall to a standard outlet. You can clip the cord along molding so it's nearly invisible.
I chose a black metal pendant with a 6-foot cord. The whole installation took 25 minutes. When I eventually move, I'll reinstall the original dome fixture and the landlord will never know the difference.
What to Look For
Get a plug-in kit with a dimmer switch built into the cord. This saves you from having to swap bulbs to control brightness. A swivel canopy is also worth it since ceiling boxes are rarely centered exactly where you want the pendant to hang.
👉 Make sure your outlet is within 8–10 feet of the fixture location. Longer cords exist but get unwieldy to hide.
Shop this post: plug-in pendant lights