A no-drill wall sconce stays up for years if three things are true: the sconce weighs under about three pounds, the strips are rated for at least twice that and pressed onto clean, sound paint, and the cord is supported below the fixture so it isn't pulling the mount down. I know because the first one I put up fell at 2 am on night three and took a piece of paint with it. My lease has a clause that still makes me cringe: "No nails, screws, or hardware of any kind in walls without written landlord approval." Approval that has never come. So when I wanted sconces on either side of the bed, I spent two months researching, bought four different products, and have now lived with the winner for three years and two apartments. This is the full report: what failed and why, what has stayed up, the mounting method step by step, the weight limits that actually matter, and the difference between adhesive sconces, plug-in sconces on adhesive mounts, and rechargeable ones.
What "no-drill wall sconce" actually means
There are three different things sold under that name, and the confusion is why so many fall down. First, sconces sold as "adhesive" or "peel and stick," usually battery-powered, with a foam pad on the back. Second, ordinary plug-in sconces, which are real fixtures with a cord, that you mount with your own adhesive strips instead of the screws they came with. Third, rechargeable sconces with a magnetic or bracket mount, where a small plate sticks to the wall and the light snaps on and off to charge. I've used all three. The pre-glued first kind is the one that fell. The second kind, a plug-in sconce on picture-hanging strips, is what's been on my wall for three years. The third is what I'd buy for a wall with no outlet.
What I tried, and what failed
First attempt: a pair of generic adhesive sconces from a big-box store, battery-powered, with the foam pad already on the back. $34 for two. They fell off on night three, one after the other, and took a coin-sized piece of paint each. The foam pad is the problem: it's thick, so any pull on the fixture peels it from the top edge, and it's permanent, so it takes paint when it goes. Battery life was about eleven days, and the light was a bluish 4000K that no amount of squinting made cozy.
Second attempt: a plug-in sconce, real metal, about 2.5 pounds, mounted with two of the large picture-hanging strips straight onto the back plate. It stayed up nine days. The strips were fine; the cord wasn't. It hung straight down from the fixture to the outlet, and every time the cord swung or got tugged by the nightstand drawer, it levered the sconce off the wall from the bottom. Lesson: support the cord.
Third attempt: a rechargeable sconce with a magnetic plate, $58. Stayed up. Still up, in the hallway now. Charge lasts about two weeks at low brightness, the light is 2700K and decent, but the magnet means the sconce shifts a few degrees when you bump it and I got tired of straightening it. Good for a wall with no outlet; not my first choice beside a bed, where I want a switch on a cord and no charging schedule to remember at midnight.
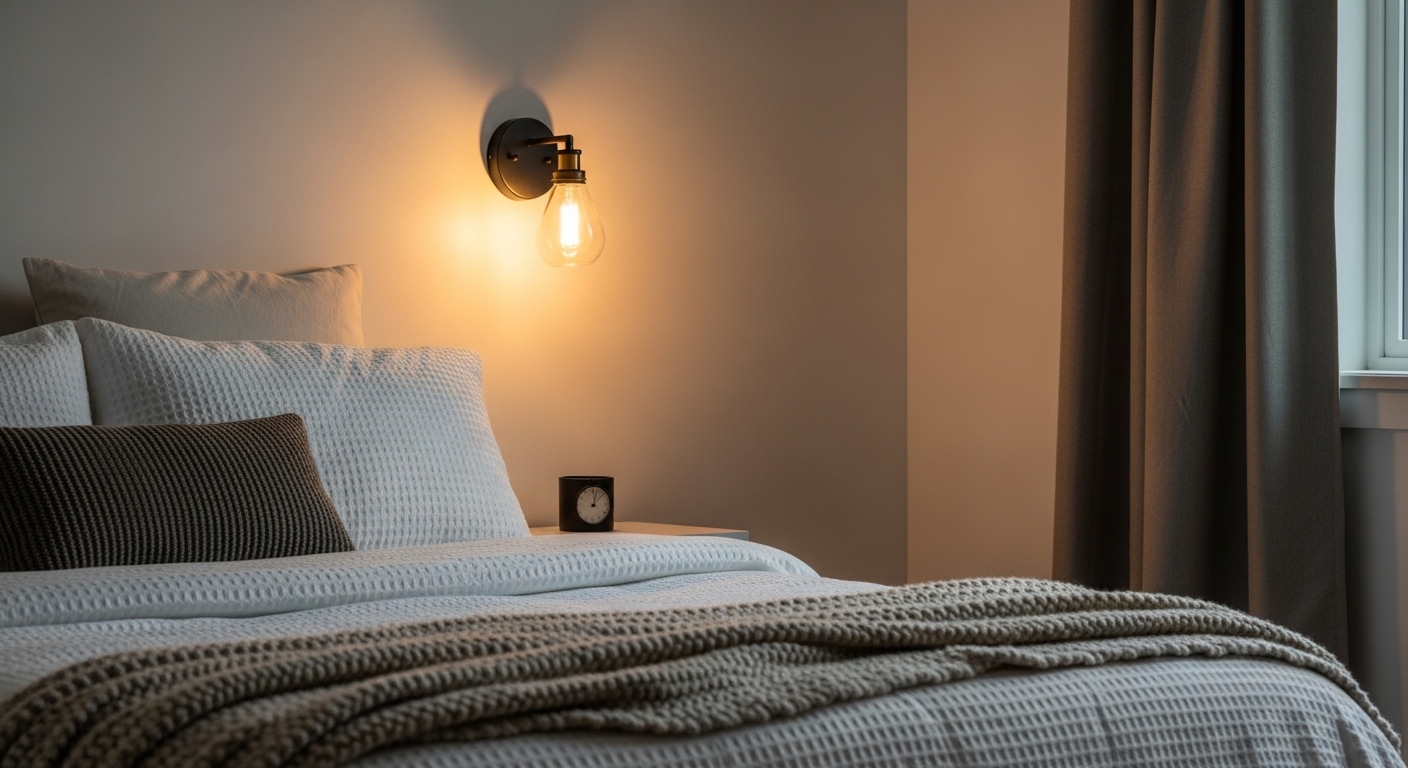
Fourth attempt, the winner: a plug-in dome sconce, 1.8 pounds, mounted with two large strips on the plate plus a strip of adhesive cord clips running down behind the nightstand. Up since June three years ago, moved once to a new apartment, remounted with new strips, still up. $42 each. The full mounting sequence is below.
How to mount a plug-in sconce without drilling, step by step
Weigh the sconce. A kitchen scale is fine. Under 3 pounds, proceed; 3 to 5 pounds, use four strips; over 5, this isn't the method, and a heavy sconce on adhesive is a hazard, not a hack. Mark the height: 24 to 28 inches above the mattress for a bedside sconce, 60 to 66 inches from the floor for a hallway or living room, and centered over the nightstand rather than the mattress edge. Clean the wall with rubbing alcohol and let it dry. Clean the back of the sconce plate too.
Use the large picture-hanging strips rated for 16 pounds a pair, not the small ones, and not the hook style. Stick one half of each strip to the plate, press for 30 seconds, then press the sconce to the wall for 60 seconds, holding it with both hands. Then take it off. Yes: the strips separate with a click, leaving both halves in place. Press the wall halves for another 30 seconds and leave them for an hour before you re-hang the sconce. This is the step that separates the ones that stay from the ones that fall, and it's the step every set of instructions buries in small type.
Then the cord. Run it straight down from the fixture, and put an adhesive cord clip every 8 inches down the wall behind the nightstand, so the weight of the cord hangs on the clips and not on the sconce. Plug into a smart plug or an inline switch. Don't touch it for 24 hours. After that it's furniture, and the only time you'll think about the mount again is the day you move.
Wall types: where this works and where it doesn't
Painted drywall, plaster, tile, glass and sealed wood: fine. Freshly painted walls under a week old: wait. Flat or matte paint: test one strip in a hidden spot for 24 hours and yank it, because flat paint sometimes comes away with the strip, which is what happened to me in Queens with a string-light hook. Textured walls, popcorn, brick, wallpaper: the strips don't get enough contact and will fail, usually within a month. For brick, there are clip mounts that grip a single brick; for wallpaper, use two table lamps and move on. Cold walls hold worse; if your bedroom exterior wall is chilly in winter, mount on the interior wall or warm the spot with a hair dryer first.
Adhesive, plug-in, or rechargeable: which no-drill sconce to buy
If there's an outlet within six feet of where the sconce goes: a plug-in sconce on strips, every time. Real light (400 to 500 lumens, dimmable with an inline dimmer), no batteries, no charging, and the widest choice of styles because you're buying a normal fixture. My whole method for choosing one is in the plug-in sconce guide. If there's no outlet: a rechargeable sconce with a bracket mount, USB-charged, two to three weeks per charge at reading brightness. Get one with a warm 2700K LED and a real dimmer, and expect to pay $50 to $90 for one that doesn't feel like a flashlight. Look at the rechargeable wall sconces with a removable light head; the fixed ones have to come off the wall to charge, which is how the mount gets wrecked. If the listing says "battery-powered" with AA batteries and a foam pad on the back: no. That's the one that falls.
How much weight can adhesive strips really hold on a sconce?
Less than the box says, because the box number is for a flat picture frame hanging straight down. A sconce sticks out from the wall, so its weight pulls the top of the mount away from the wall (peel) as well as down (shear), and adhesive is far weaker in peel. My working rule after four products and three years: use strips rated for at least four times the sconce's weight, and put the strips as high on the mounting plate as they'll fit, because the top edge is where peel starts. A 1.8-pound sconce on two 8-pound-rated strips (16 pounds a pair) is comfortable. A 3-pound sconce needs four strips. Anything with a long arm that projects more than 6 inches from the wall multiplies the peel force and is a poor candidate no matter how light it is; the short dome sconces and the flat half-moon "uplight" styles are the ones that work.
What about the sconce arm and the shade?
Choose a fixture whose weight sits close to the wall. A backplate with a short stem and a small shade puts the center of gravity an inch or two out; an articulated swing-arm reading sconce puts it eight inches out and turns your strips into a hinge. If you want the swing-arm look, mount a light fixed sconce and get your aim from the bulb (a directional LED spot bulb, 2700K, points where you tell it). Glass shades are heavier than metal or fabric and shatter when a mount lets go, which is one more reason the first pair I'd suggest is a small metal dome. The four fixtures I've owned are weighed and compared in the plug-in guide; the two that stayed up are the two under two pounds.
Where to put a no-drill sconce besides the bed
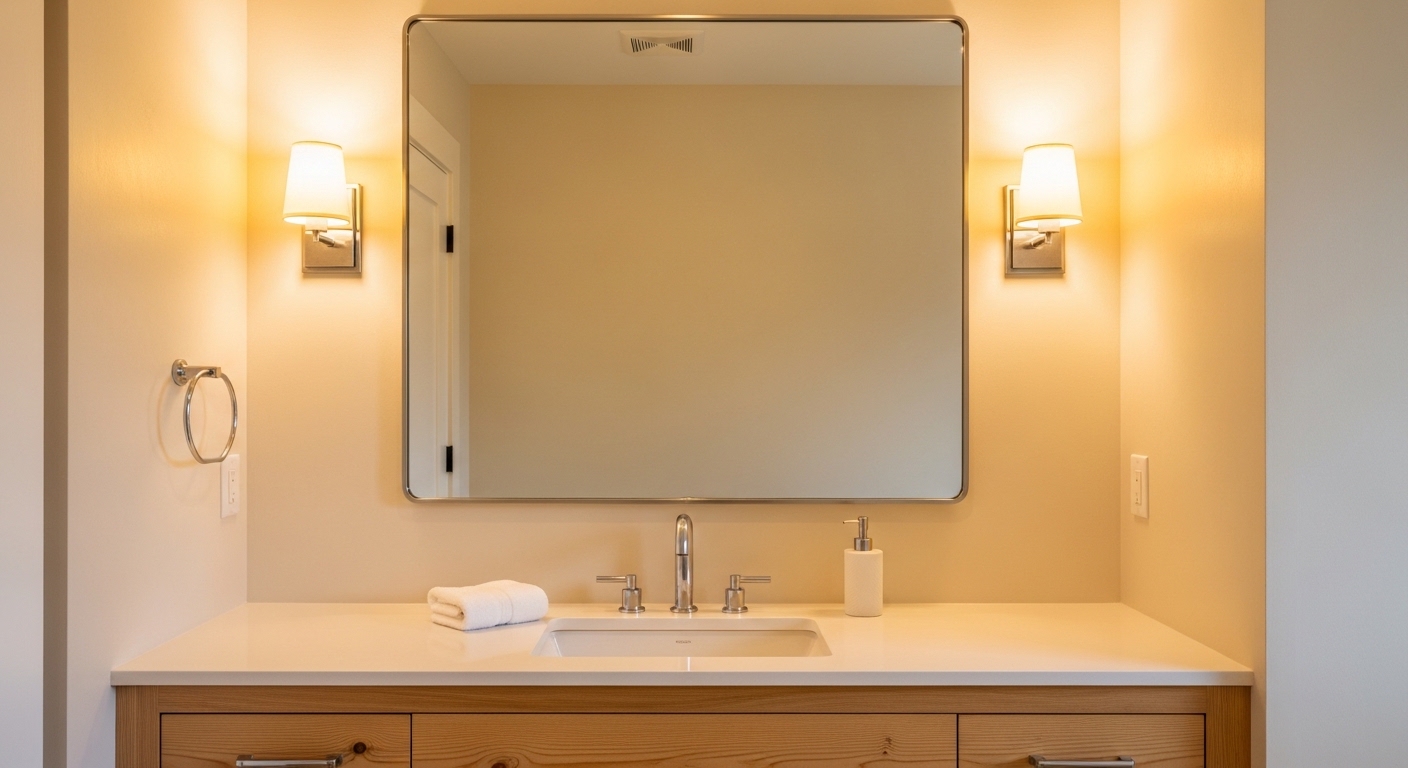
Either side of the sofa, at 60 to 66 inches, for reading without a table lamp taking up the side table. In a hallway, one every 6 to 8 feet at the same height, which is the cheapest way to make a rental corridor feel like somewhere. Beside the bathroom mirror, in pairs, which I wrote up in the bathroom post. Above a desk, pointing down, in place of a desk lamp. The one place I'd avoid: above a stove or beside a shower, where heat and steam soften the adhesive; the kitchen sconce in my apartment is on the wall by the table, four feet from the range, and that's as close as I'd go.
Three-year results, in numbers
Two sconces, two apartments, one remount. Zero falls since the method above. Strips replaced once, at the move, $9. Paint damage at removal: none; the tab pulls straight down and the strip stretches off. Nightly use, on a smart plug schedule, about four hours a night. Bulbs: one replacement each in three years, both from the same box so the color still matches. Total cost of the winning setup: $84 for the pair, $9 in strips, $6 in cord clips, $14 for the smart plug. The two that fell cost me $34 and a $6 pot of touch-up paint, which I still have and use for every apartment.
What I'd do differently
I'd skip the pre-glued battery sconces entirely, which would have saved the paint. I'd weigh the second sconce before buying it, because 2.5 pounds on two strips was marginal even with the cord supported. I'd mount the cord clips before the sconce, not after, because reaching behind a nightstand to press a clip is the least dignified part of the process. And I'd tell my past self that the one-hour wait between pressing the strips and hanging the sconce isn't optional. Everything else about the method I'd keep, and it's the method I use for every wall-mounted thing in a rental now: the sconces, the string light hooks, the curtain brackets in my no-drill curtain post, and the mirror in the hall. The bedroom lighting setup those sconces anchor is its own post.
Removal, for the deposit
Unplug. Lift the sconce off the wall halves of the strips (they click apart). Pull each wall half straight down, slowly, parallel to the wall, stretching it until it releases. Cord clips come off the same way. If a tab snaps, warm the strip with a hair dryer for 20 seconds and floss behind it. Six sconces removed across three apartments, one piece of paint lost, and that was the pre-glued one, not the strips. Keep the sconces. They're the one thing in a rental that gets better with each move, because you already know exactly how to hang them.
Shop this post: plug-in wall sconces, rechargeable wall sconces and wall sconces